Protect Surfaces: Pressure Washer Unloader Valve Maintenance Guide
By Lian Zhou • 27th Nov
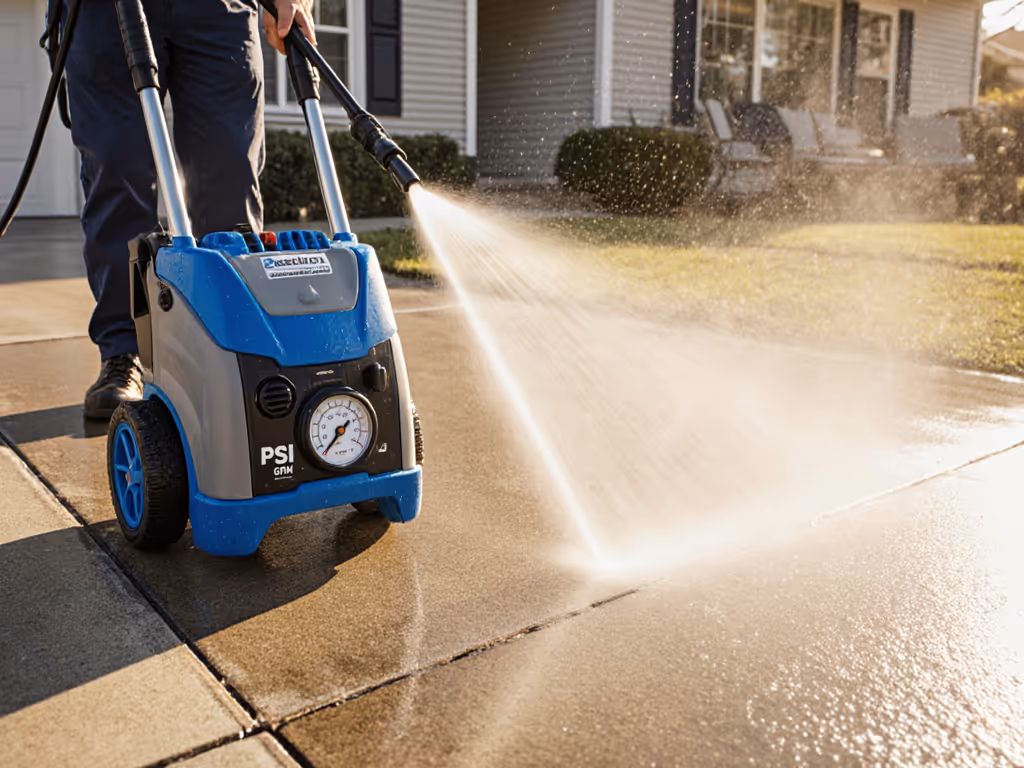
When DIYers and property maintainers neglect pressure washer unloader valve maintenance, they unknowingly risk their most delicate surfaces. This component isn't just about equipment longevity (it is the critical bridge between machine performance and finish-safe outcomes). Follow this unloader valve repair guide to prevent accidental over-pressuring that causes raised grain, pitting, and oxidation streaks your eye can't ignore. Start with the surface; pressure is the last knob. For a quick refresher on how PSI and GPM work together for finish-safe cleaning, see our PSI vs GPM guide.
Why Unloader Valves Matter for Surface Protection
Most homeowners fixate on nozzle selection and PSI settings while ignoring how the unloader valve functions during trigger transitions. When you release the spray gun, the unloader valve redirects pressurized water away from the tip. A malfunctioning valve can cause pressure spikes of 20-30% above your set point when re-engaging the trigger, enough to turn cedar siding fuzzy or blow mortar joints.
The Surface Safety Mechanism
Properly functioning unloader valves maintain consistent pressure regulation system behavior that aligns with your finish-safe thresholds. This is why pump protection techniques aren't just about equipment, they are surface protection protocols. When the valve redirects flow during trigger breaks:
- Standoff distance remains predictable between strokes
- Dwell time calculations stay accurate
- Grain direction cleaning stays effective without over-pressuring weak spots
This consistency is why I've seen oxidation risk skyrocket on composite decking when valves stick (those momentary pressure spikes create irreversible tiger-striping before you notice).
Surface-Damaging Symptoms of Unloader Failure
Traditional guides focus on "no pressure" or "engine surging," but we're surface-focused. Watch for these subtle indicators that your unloader valve compromises delicate finishes:
Inconsistent Spray Pattern Artifacts
- Tiger-striping on siding: Alternating light/dark streaks from uneven pressure
- Fuzzed wood grain: That homeowner cedar steps incident I witnessed (dropping from 1800 PSI to 1100 PSI while fixing the valve eliminated it)
- Mortar blowout: Surges exceeding 1,500 PSI on soft brick joints (even with "safe" 1,200 PSI settings)
Dwell Time Disruption Signs
- Chemical runoff before activation time (oxygen cleaners need 5+ minutes)
- Uneven detergent activation creating oxidation streaks
- Post-rinse blotchiness from inconsistent pressure during neutralization
These aren't just cleaning failures, they are direct evidence of pressure regulation system breakdown affecting your finish-safe thresholds.
Surface-Safe Unloader Valve Maintenance Protocol
Your maintenance approach must prioritize surface outcomes over pure equipment function. These valve adjustment procedures protect finishes first:
Step 1: Diagnose With Surface Impact in Mind
Don't just test pressure at the tip, observe how the machine behaves when:
- Re-engaging the trigger on known sensitive surfaces (test panels recommended)
- Holding the trigger during transitions between surfaces
- Running at idle during chemical dwell time
A healthy valve maintains pressure within +/- 5% during these transitions. Greater variance risks surface damage.
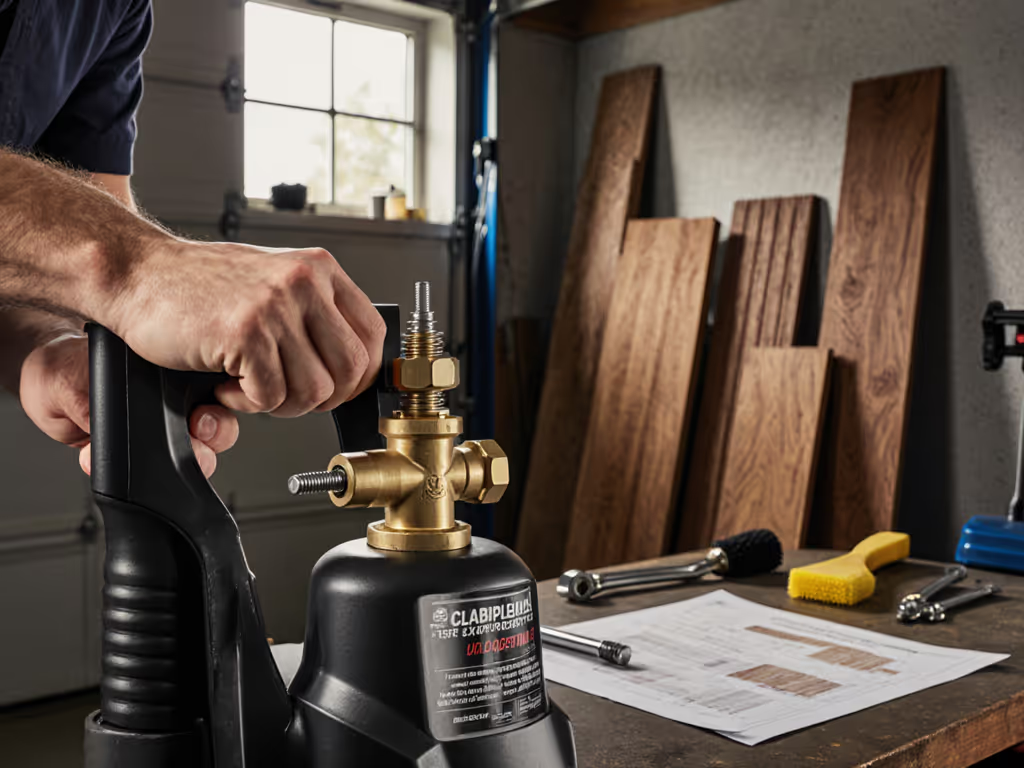
Step 2: Clean Without Compromising Finish-Safe Thresholds
Debris in the valve body causes sticking that spikes pressure. Our cleaning protocol:
- Disconnect power and relieve system pressure
- Remove valve assembly (note orientation for reinstallation)
- Soak components in vinegar solution 15 minutes (no harsh chemicals)
- Clean ports with dental pick, especially the bypass orifice (critical for consistent flow)
- Rinse thoroughly with filtered water to prevent residue
I never lubricate beyond factory specs, excess lubricant attracts debris that later causes surges. Silicone-based lubricant on O-rings only if manufacturer specifies.
Step 3: Adjust Using Surface Reference Points
Never adjust solely by pressure gauge. Follow this surface-first method:
- Set up on test panel of your target surface
- Begin with valve adjustment screw at factory midpoint
- Engage trigger and note any spray pattern distortion
- Make quarter-turn adjustments while watching wood grain or masonry texture
- Stop when pressure transitions feel smooth against the surface
Remember: Turning the adjustment screw clockwise increases pressure but REDUCES GPM, killing your cleaning power ratio. This is why nozzle selection matters more than valve tweaks for surface safety. For surface-safe results, choose nozzles and add-ons from our finish-safe attachments guide.
When Replacement Preserves Surface Integrity
Sometimes replacement is the only surface-safe option. Replace your unloader valve when you see:
- Recurring oxidation streaks despite proper dwell time
- Persistent fuzzy grain after multiple cleanings
- Pressure variance exceeding 10% during trigger transitions
During installation:
- Match valve specs to your machine's GPM (not PSI)
- Verify bypass flow rate meets manufacturer specs
- Test on scrap material before full application
A quality replacement valve maintains pressure within 3% variance, critical for surfaces requiring precise finish-safe thresholds like coated metals and aged wood.
Integrating Valve Health Into Your Surface Strategy
Your unloader valve isn't isolated equipment, it is part of the surface protection ecosystem. Treat it as such by:
- Including valve inspection in your pre-job surface assessment
- Testing transitions on inconspicuous areas before full cleaning
- Documenting pressure variance during transitions for sensitive jobs
- Pairing valve maintenance with your detergent rotation schedule
Respect the grain isn't just about technique, it starts with your equipment's consistency. That cedar steps fix taught me valve health directly impacts whether dwell time works as intended. When the valve sticks, your carefully calculated oxygen cleaner activation fails before you finish the first stroke.
Actionable Maintenance Schedule
Protect both equipment AND surfaces with this quarterly valve protocol: For comprehensive upkeep beyond the unloader valve, follow our power washer servicing guide.
- Monthly: Run test pattern on concrete (observe consistency)
- Quarterly: Perform light cleaning of valve assembly
- Biannually: Verify pressure transition stability with gauge
- Annually: Replace O-rings regardless of visible wear
Record your PSI/GPM readings during trigger transitions, this data reveals developing issues before surfaces show damage. When numbers shift by more than 5%, service the valve before your next delicate job.
Related Articles