Filing Pressure Washer Warranty Claims Without Denials
By Sofia Alvarez • 10th Dec
When your pressure washer sputters unexpectedly or refuses to start, navigating the pressure washer warranty claims process can feel overwhelming, especially when you're worried about common denials. As someone who's turned countless complex setups into simple checklists for first-timers, I know how frustrating it is to face rejection after following what you thought were proper procedures. The good news? Most pressure washer warranty filing issues stem from preventable mistakes in documentation, maintenance, or misunderstanding coverage. By approaching this like a proper pre-rinse sequence (methodical and precise), you'll significantly increase your success rate. Remember, clarity and sequence prevent damage and deliver confidence, whether you're cleaning a deck or navigating warranty paperwork.
What Makes This Checklist Different
Unlike generic online advice that skips critical steps, this guide stems from real-world experience. Years ago, I helped a teen avoid costly mistakes when his first pressure washer broke down by creating a simple checklist taped to the handle (just like I do for fence cleaning jobs). He didn't just get his warranty claim approved; he learned exactly why it worked. If it isn't repeatable, it isn't teachable or safe. Let's make your warranty claim just as straightforward.
Your 9-Step Warranty Claim Success Checklist
1. Decode Your Warranty Before You Need It
Don't wait until something breaks to understand your coverage. Pressure washer warranties vary significantly by component:
- Pump: Most manufacturers offer 2-year coverage (Simpson, DeWalt, AR North America)
- Frame/Engine: Typically 1 year
- Accessories: Nozzles, hoses, and wands often covered for just 90 days
- Extended Options: Some brands like BE Power Equipment offer 5-year coverage if you register within 30 days of purchase
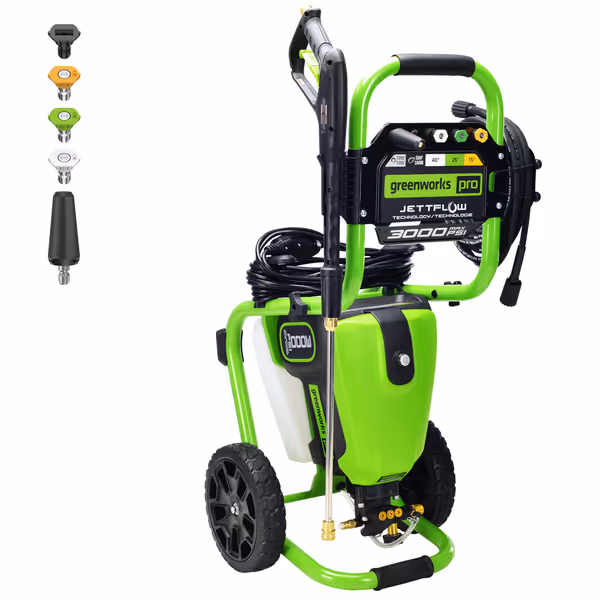
Greenworks Pro Brushless Electric Pressure Washer
Powerful electric cleaning for diverse surfaces, verified performance, finish-safe support.
$449.99
Max Cleaning Power3000 PSI / 2.0 GPM
Max Cleaning Power3000 PSI / 2.0 GPM
Pros
PWMA Certified power means verified, consistent results.
TruBrushless motor offers gas-like performance without the hassle.
Cons
Durability concerns reported by some users.
Pressure consistency received mixed customer feedback.
Customers find the pressure washer to be a quality, powerful electric unit that's easy to assemble and set up, and consider it well worth the price.
Customers find the pressure washer to be a quality, powerful electric unit that's easy to assemble and set up, and consider it well worth the price.
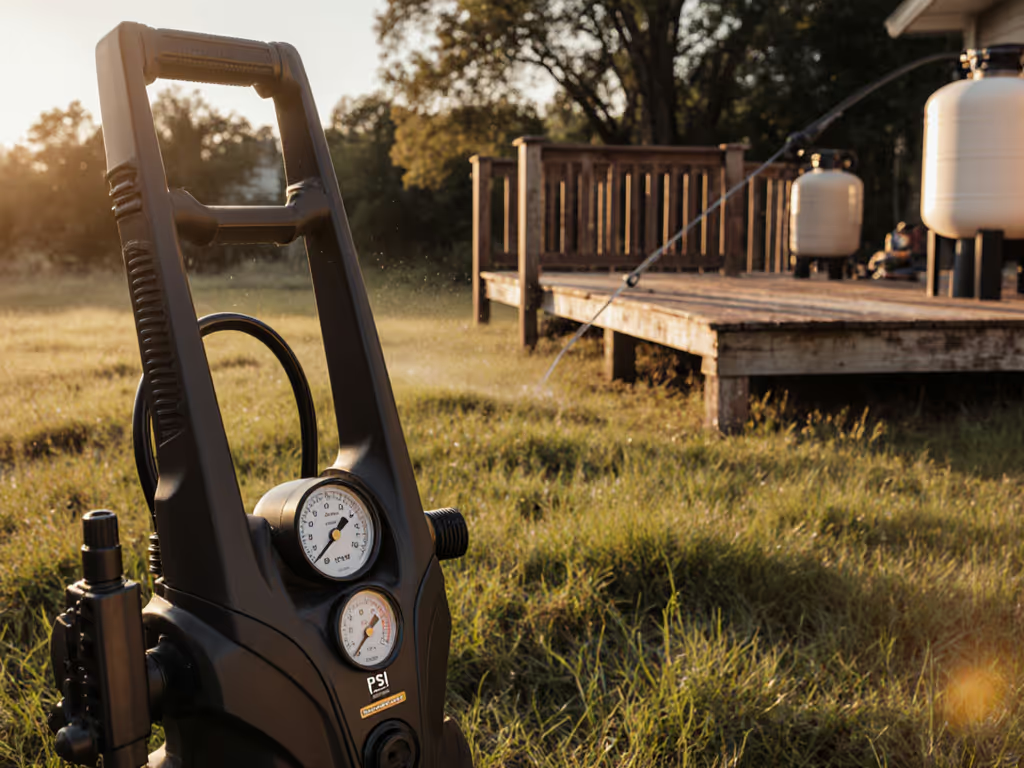
Before reaching for the trigger, pull out your manual and highlight the warranty section. This is your test patch for understanding coverage boundaries. It prevents assumption errors that lead to denials.
Pause and inspect every panel of your warranty documentation just as you would before spraying a sensitive surface.
2. Document Every Maintenance Action
Warranty claims get denied most frequently due to "lack of proper maintenance", a vague term that becomes specific when you keep records. Create a simple log that tracks:
- Oil changes (with dates and oil type)
- Pre-rinse cycles after using detergent
- Storage preparations (draining water before winter)
- Any encountered issues (even minor ones)
This documentation serves as your evidence that you followed the manufacturer's recommended maintenance sequence. For preventive routines beyond the basics, follow our pressure washer servicing guide. When a technician sees consistent logs showing you flushed the system after each use, they're far less likely to accuse you of chemical deterioration.
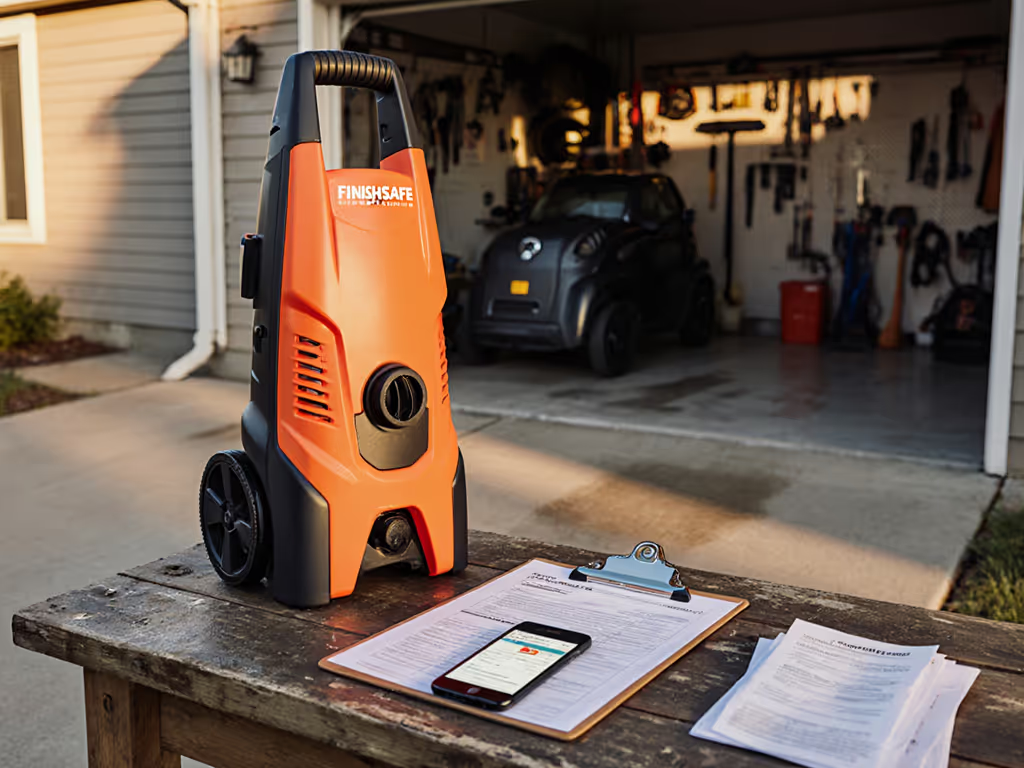
3. Preserve Your Proof of Purchase Religiously
That crumpled receipt in your junk drawer? It's your warranty lifeline. Manufacturers universally require:
- Original dated sales receipt
- Product serial number (photograph it now!)
- Model number verification
Store these documents together in a waterproof envelope (consider it your warranty filing checklist starter kit). Without them, even legitimate claims get denied immediately. I've seen too many homeowners frustrated because they "thought the credit card statement would be enough."
4. Avoid the Biggest Claim Killer: Improper Winterization
Freeze damage accounts for nearly 30% of denied pressure washer warranty claims according to industry service center data. Even if you live in a "non-freezing" climate, unexpected cold snaps happen. Your pre-winter checklist must include: Use this winterization checklist to prevent pump damage that voids coverage.
- Complete water drainage from pump and hoses
- Adding manufacturer-approved pump saver
- Removing spark plug (for gas models) and adding fogging oil
If you skipped this step, document why (for instance, if an unexpected freeze hit before you could prepare). Honesty with context works better than pretending you followed procedures you didn't.
5. Perform the Critical "Pre-Claim" Test Sequence
Before contacting customer service, run this diagnostic sequence that mimics what the service center will check:
- Verify water supply is adequate (minimum 5 GPM for most residential units)
- Check inlet filter for debris
- Test with bare wand (no nozzle) to isolate pressure issues
- Document results with photos/video
This process identifies simple fixes you can handle yourself while creating evidence that proves the issue isn't user error. If supply flow or inlet pressure is questionable, use our water supply troubleshooting for quick diagnostics. If you skip this step, technicians will assume you didn't perform basic troubleshooting, a common denial reason.

6. Contact the Correct Service Channel First
Many claims get bounced between dealers and manufacturers, creating delays and frustration. Follow this sequence:
- Step 1: Authorized dealer (if within 90 days of purchase)
- Step 2: Manufacturer direct (after 90 days or if dealer unresponsive)
- Step 3: Service center (only when directed by manufacturer)
Calling the wrong department wastes days while your claim window ticks down. Note that companies like Craftsman require you to visit an authorized service dealer first, while Simpson directs you to call 1-877-362-4271 immediately.
7. Prepare for the Technical Inspection
When a technician visits, they'll test specific failure points. Prepare by:
- Demonstrating the issue with consistent walk speed
- Showing proper nozzle overlap technique
- Providing maintenance records
- Keeping the unit in its original location (for safety verification)
Explain exactly what you were cleaning when the failure occurred. Were you attempting commercial-grade work with a residential unit? The technician needs this context to determine if usage was within specifications. To match tasks with equipment class, compare pro vs consumer washers.
8. Navigate the "Gray Area" Denials
Some denials stem from ambiguous warranty language. When this happens:
- Request the specific warranty clause being cited
- Cross-reference it with your documented maintenance
- Ask for escalation to a warranty specialist
- Mention if you're a repeat customer (builds goodwill)
For instance, if they claim "improper maintenance" but you have oil change records, politely request exactly which maintenance step they believe was missed. Specificity trumps general accusations.
9. Implement the Post-Claim Checklist
Once approved, your responsibility isn't over. Ensure long-term success with:
- Scheduling follow-up inspections if recommended
- Documenting any modifications made during repair
- Updating your maintenance log with service notes
- Creating a visual reminder of proper storage procedures
This final step transforms a single warranty claim into lasting knowledge. Just like that teen with the fence cleaner, you'll gain confidence through repeatable processes.
Your Actionable Next Step
Tonight, before bed, complete these three quick actions:
- Locate your pressure washer's serial number and photograph it
- Find your purchase receipt and store it digitally (phone photo counts!)
- Perform a 2-minute pre-rinse cycle with clean water to ensure no detergent residue remains
This simple sequence takes less than five minutes but creates the foundation for successful warranty claims. Next weekend, when you're prepping for your cleaning project, take thirty seconds to check your maintenance log, just enough time to verify your pump is properly winterized or oil levels are correct. Remember: every professional started as a first-timer who followed a clear checklist. Pause and inspect every panel of your warranty process with the same care you apply to your cleaning surfaces, and you'll never face a preventable denial again.
Related Articles