Automated Pressure Washing: Damage-Free Setup Guide
By Sofia Alvarez • 14th Dec
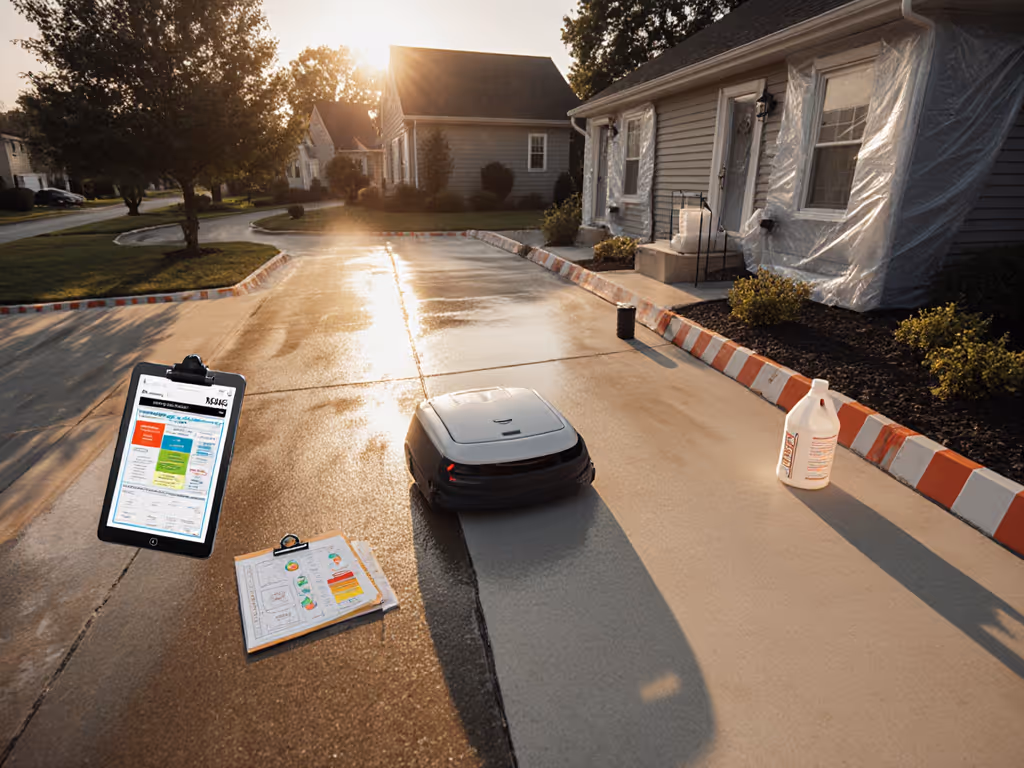
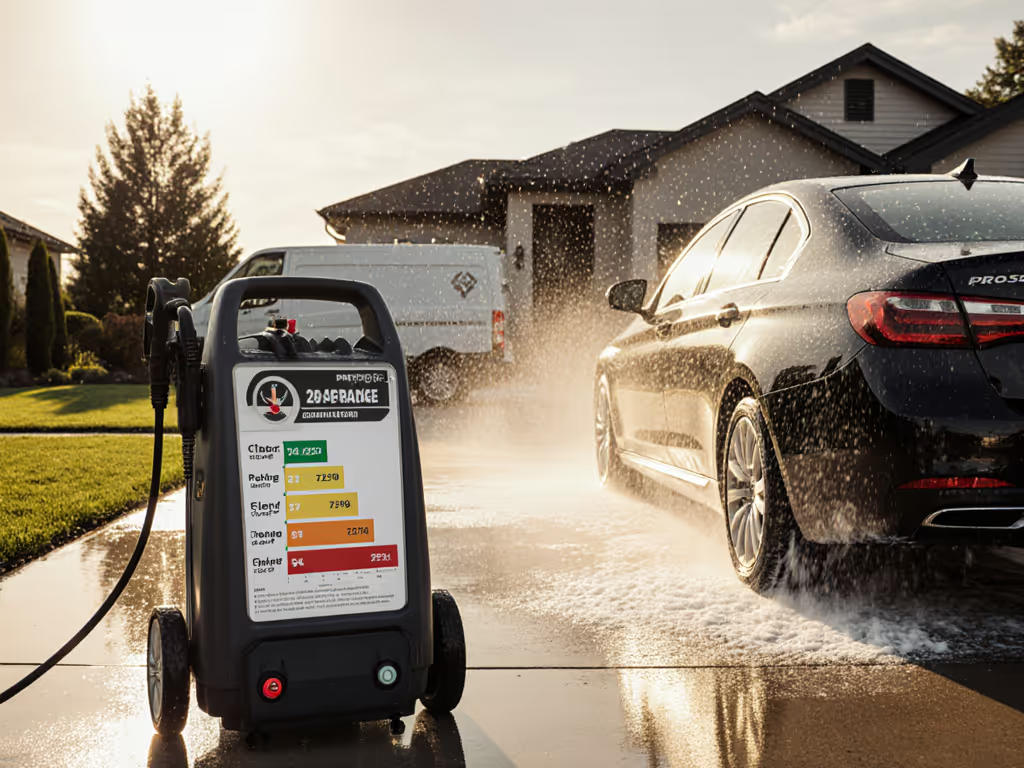
If you've ever worried about accidentally damaging your deck, siding, or driveway while trying to get that professional pressure washing result, you're not alone. The right pressure washing setup can make all the difference between a pristine finish and costly repairs. Today's professional pressure washer systems (especially the newer automated models) offer remarkable precision, but only if you set them up correctly. Let's walk through a damage-free approach that prioritizes surface safety while leveraging the latest technology.
Why Automated Pressure Washing is Different
Automation in pressure washing isn't just about "set it and forget it." Modern systems with AI cleaning technology incorporate sensors that adjust pressure based on surface resistance, while self-navigating pressure washers map surfaces to ensure even coverage without overlapping too much. These innovations solve many traditional pain points: inconsistent results, tiger-striping on siding, and accidental damage to soft surfaces.
But here's what most manufacturers won't tell you: even with smart technology, improper setup can still lead to damage. I've seen too many homeowners excited about future cleaning technologies who skip the fundamental setup steps, only to return their units after etching a cedar fence or blowing out stucco joints. If you're unsure about safe settings by material, review our house pressure washing surface-specific methods before you start.
Your Damage-Free Setup Checklist
Follow this sequence precisely. Each step builds confidence while protecting your surfaces. Remember my guiding principle: Clarity and sequence prevent damage and deliver confidence.
Step 1: Surface Assessment & Test Patch
Before you even plug in your machine:
- Identify your surface type (wood, concrete, vinyl, composite)
- Check for existing damage, loose material, or paint failure
- Perform a test patch in an inconspicuous area
For automated systems, this step is critical for proper calibration. Many newer models require you to scan a small section first so their AI can adjust settings appropriately. Never skip this (even if the machine claims to be "fully automatic"). Not sure what 'conservative' looks like for your unit? Start with our PSI vs GPM surface-first cleaning guide to set safe baseline specs.
Always start with the most conservative settings. You can increase pressure slightly if needed, but you can't undo damage.
Step 2: Pre-Rinse Assessment
Most automated systems skip this step, which is why I've developed a simple pre-rinse routine that works with any pressure washing equipment:
- Run your machine on the lowest setting without detergent
- Observe water absorption and surface reaction
- Note any areas that appear particularly vulnerable
This reveals problem spots before you commit to full cleaning. If water beads up immediately, you likely have a sealant that requires gentler cleaning. If it soaks in rapidly, you're dealing with porous material that needs lower pressure.
Step 3: Configure Your Automated System
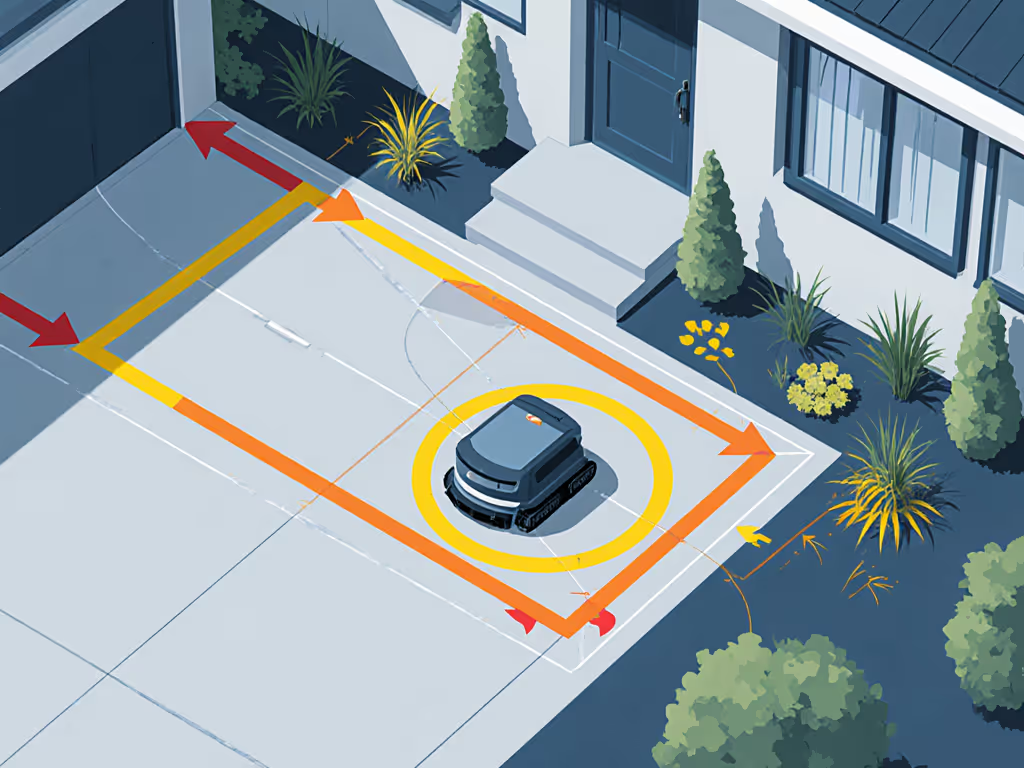
Here's where most users go wrong with self-navigating pressure washers. They assume the machine handles everything, but proper configuration is still essential:
- Set maximum pressure to 30% below what you'd normally use for that surface
- Program walk speed to "slow" or "extra slow" for first-time use
- Ensure the machine's navigation path includes 15 to 20% overlap between passes
- Set safety zones around vulnerable areas (window frames, trim, plants)
Remember: If it isn't repeatable, it isn't teachable or safe. Document your settings for future reference.
Step 4: Controlled Detergent Application
Automated systems often mishandle chemical application. Follow this sequence:
- Apply detergent at lowest pressure setting
- Set dwell time based on product instructions (never exceed 5 minutes)
- Program the machine to avoid spraying directly on adjacent plants or grass
- Pause and inspect every panel before proceeding to rinse
Many users damage surfaces not with the pressure itself, but with improper chemical dwell time. The automation handles the physical application, but you must monitor the chemical reaction. For chemistry basics that prevent stains and etching, read our pressure washing detergent science explainer.
Step 5: First-Pass Rinse with Verification
This is your damage prevention checkpoint:
- Run the machine at 40% capacity for the first complete pass
- Watch for any signs of surface distress
- Immediately stop if you notice grain raising, material displacement, or color changes
- Verify rinse effectiveness before proceeding
I once helped a neighbor avoid etching his newly installed composite deck by catching early signs of damage during this first-pass rinse. He'd set his automated system to "high" thinking it would save time, a classic rookie mistake.
Step 6: Final Pass with Confidence
Only after verifying no damage occurred in the first pass should you proceed:
- Increase to 70% capacity for the second pass
- Maintain consistent walk speed (automated helps here!)
- Watch for rinse-to-sheen (when water sheets evenly without beading)
- Pause and inspect every panel for missed spots or new issues
The "rinse-to-sheen" standard I developed for a young contractor (we taped it to his handle) works perfectly with automated systems too. When water flows evenly without beading, you've achieved proper cleaning without damage.
Critical Safety Sequences for First-Time Users
Automation doesn't eliminate risk, it just changes where you need to focus your attention. If you’re new to PPE and safe handling, bookmark our pressure washer safety guidelines. Keep these sequences in mind:
- Always test before full operation (even with AI cleaning technology)
- Never skip the test patch (different sections of the same surface can react differently)
- Program conservative pressure limits (especially around vulnerable areas)
- Monitor chemical interaction (automation handles application but not chemistry)
- Maintain proper pre-rinse assessment (surfaces change with weather and age)
What to Do If You Notice Early Damage Signs
If, during your first-pass rinse, you see:
- Raised wood grain
- Blown mortar joints
- Color changes in composite
- Visible etching on concrete
Immediately:
- Stop the machine
- Switch to lowest pressure setting
- Increase distance between nozzle and surface by 50%
- Reduce detergent concentration by half
- Re-run the test patch with these conservative settings
Actionable Next Step: Your First Damage-Free Test
Don't wait for perfect weather or a big job. This week:
- Find a small, inconspicuous area on your property
- Run through all six steps of this checklist
- Document your settings and results
- Adjust as needed before tackling larger areas
Automation in pressure washing is fantastic when set up correctly, but the technology is only as good as your setup sequence. By following this damage-free approach, you'll gain confidence with your equipment setup while protecting your surfaces from costly mistakes.
Remember: The most expensive part of pressure washing isn't the machine (it is the damage you might cause without proper sequencing). Take your time, follow the checklist, and you'll achieve professional results with peace of mind.
Pause and inspect every panel (your surfaces will thank you).
Related Articles