Pool Deck Power Washing: Maintain Slip Resistance Safely
By Sofia Alvarez • 29th Oct
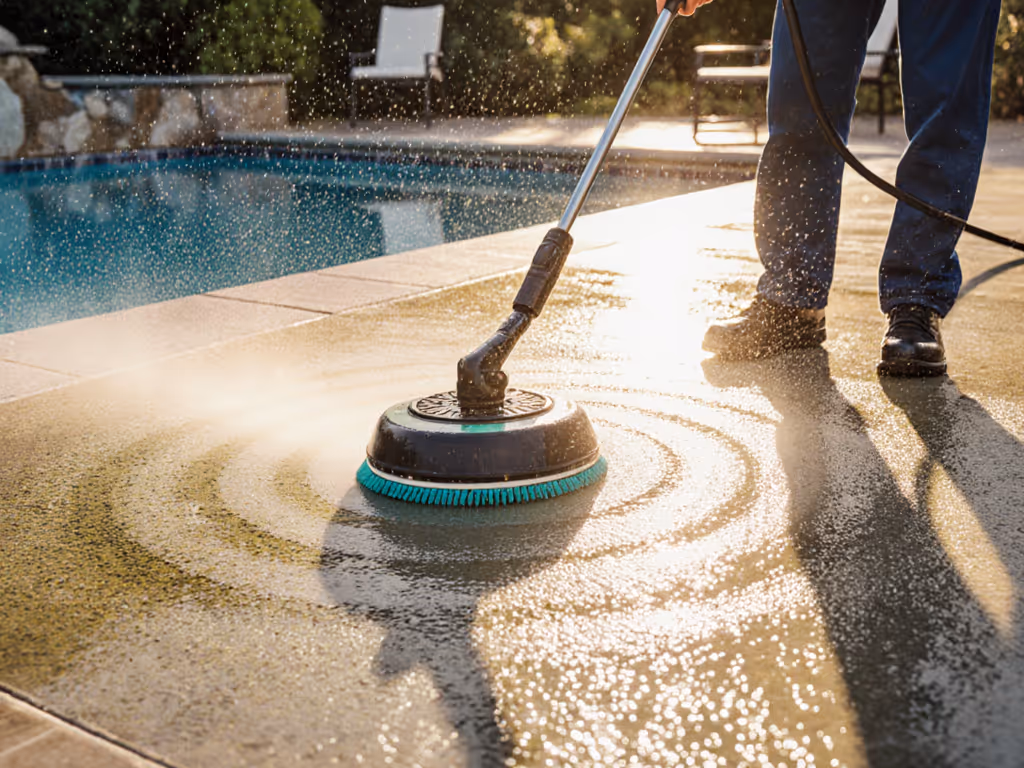
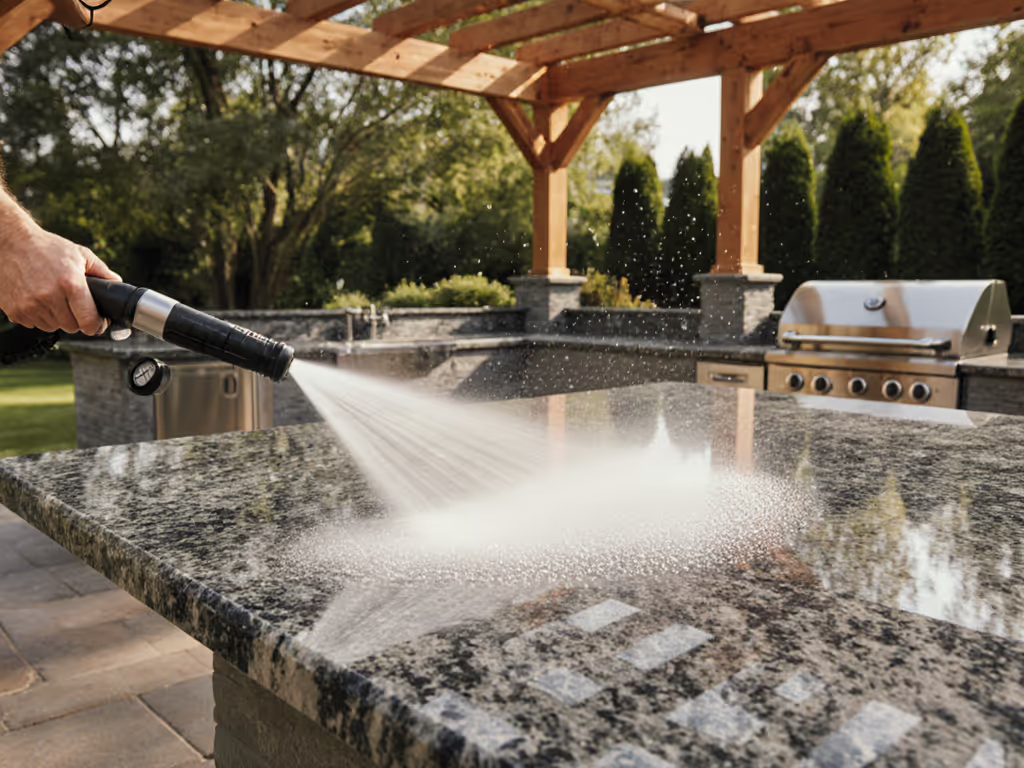
When you're staring at a slippery pool deck with algae streaks and worn pavers, you need a reliable patio cleaning guide that won't compromise safety. This power washing decking tutorial focuses on what matters most for homeowners: maintaining that essential slip resistance while achieving a clean surface. Too many DIYers learn the hard way that aggressive cleaning strips away the textured finish that keeps your family safe around water. Let's transform your anxiety about damaging surfaces into confidence through a sequence that protects both your deck and your peace of mind.
Why Slip Resistance Matters More Than Sparkle
Before you even plug in your pressure washer, understand this critical truth: a perfectly clean but dangerously smooth pool deck is a hazard waiting to happen. For broader risk prevention and PPE tips, see our pressure washer safety guidelines. Those microscopic grooves and textures on your concrete, pavers, or composite decking aren't just for looks (they're your first line of defense against slip-and-fall accidents). When pressure washing removes this texture along with the algae, you might be trading visible dirt for invisible danger.
This is where clarity and sequence prevent damage. Many homeowners jump straight to the highest pressure setting, only to discover they've etched the surface smooth (especially on stamped concrete or older pavers). Your goal isn't surgical precision; it's gentle restoration that preserves the deck's natural grip. Remember my guiding principle: If it isn't repeatable, it isn't teachable or safe.
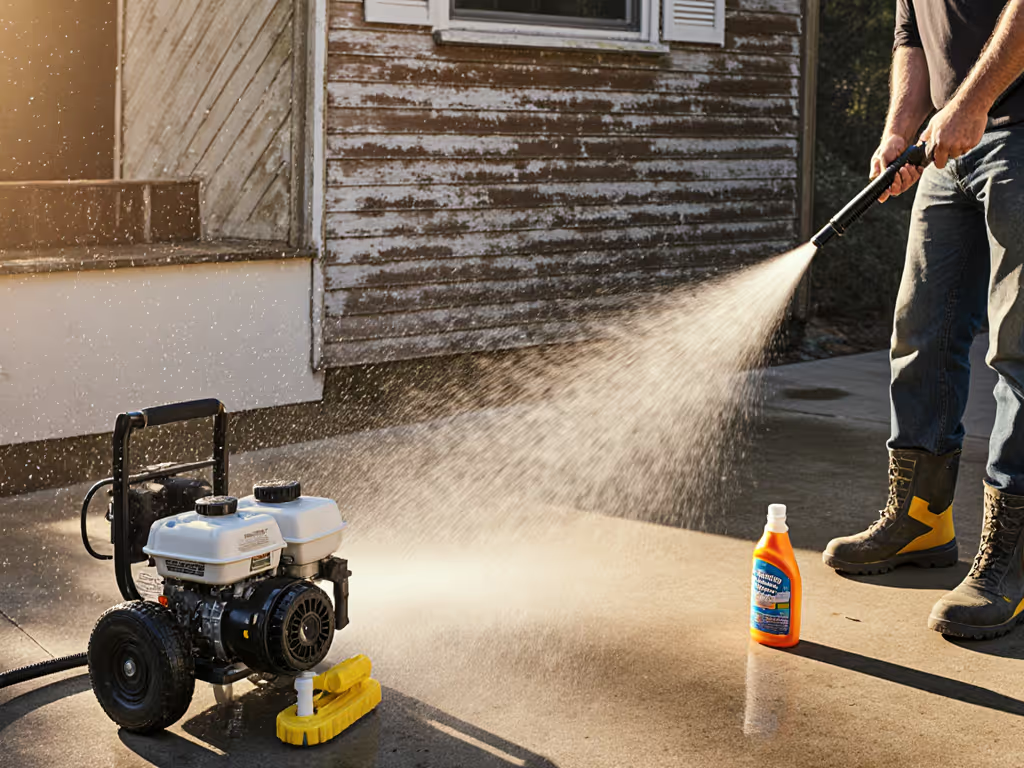
Your Pre-Cleaning Checklist: Safety First, Results Second
Skip this phase and you're gambling with your deck's integrity. Follow this simple checklist before releasing a single drop of water:
- Clear and prep - Remove all furniture, toys, and debris. Sweep thoroughly with a stiff-bristle broom.
- Protect sensitive areas - Cover pool equipment, electrical outlets, and nearby plants with plastic sheeting.
- Water test - Check your water supply flow rate by timing how long it takes to fill a 5-gallon bucket. Low flow means you'll need to adjust expectations. If your bucket test shows low flow or surging, use our water supply troubleshooting guide to fix it before you start.
Test patch is non-negotiable. Never clean the entire deck without testing your settings on a small, inconspicuous area first. This is your insurance policy against costly mistakes.
Finding Your "Goldilocks Zone" for Slip-Safe Cleaning
Different surfaces need different approaches, but here's a universal starting point that works for 90% of pool decks: To dial in specs with confidence, read the PSI vs GPM guide that explains how pressure and flow work together on pool decks.
Starting Points Table:
| Surface Type | PSI Range | Nozzle Type | Standoff Distance | Chemical |
|---|---|---|---|---|
| Concrete (stamped/aged) | 1,500-2,000 PSI | 40° (white) | 18-24 inches | Mild detergent only |
| Pavers | 1,800-2,200 PSI | 25° (green) | 12-18 inches | Algae-specific cleaner |
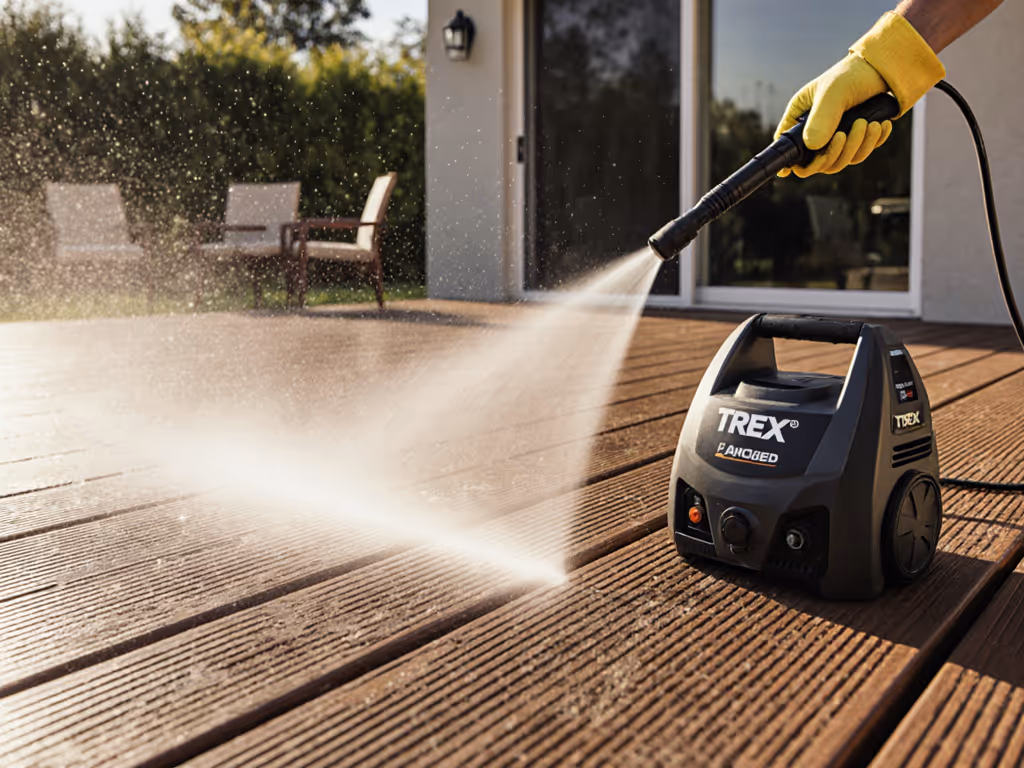
| Composite Decking | 1,200-1,800 PSI | 40° (white) | 10-15 inches | Oxygen bleach solution |
The "Wider fan, safer first pass" approach lets you assess the surface's reaction without commitment. Begin with the widest possible fan angle (40°) at maximum safe distance. Only move closer or increase pressure if absolutely necessary. Your walk speed should be slow but steady (about the pace of pushing a lawn mower).
The Safe Sequence: Step-by-Step Cleaning Process
Step 1: Dry Pre-Rinse
Before water even touches the deck, walk the entire surface with a leaf blower or stiff broom. This removes loose debris that could become projectiles when hit with water. You'd be surprised how many first-timers skip this step, only to end up with pitted surfaces from embedded grit.
Step 2: Chemical Application
For algae removal, apply a dedicated algae cleaner (not straight bleach) with a garden sprayer. Prefer greener chemistry? Mix one of our eco-friendly detergent recipes that stays safe around pools and plants. Let it dwell for 10 to 15 minutes, but never allow it to dry completely. This dwell time breaks down the algae's root structure without needing excessive pressure later. For general pool area maintenance, a mild detergent works best.
Step 3: First Pass: Maximum Safety
Wider fan, safer first pass - Yes, I'm saying it again because it's that important. Start with that 40° nozzle at 24 inches distance. Your overlap should be about 50%, with each pass covering half the previously cleaned area. On larger decks, a quality surface cleaner attachment helps maintain even overlap and prevents wand marks. Maintain consistent walk speed; rushing creates uneven results.
Step 4: Targeted Second Pass
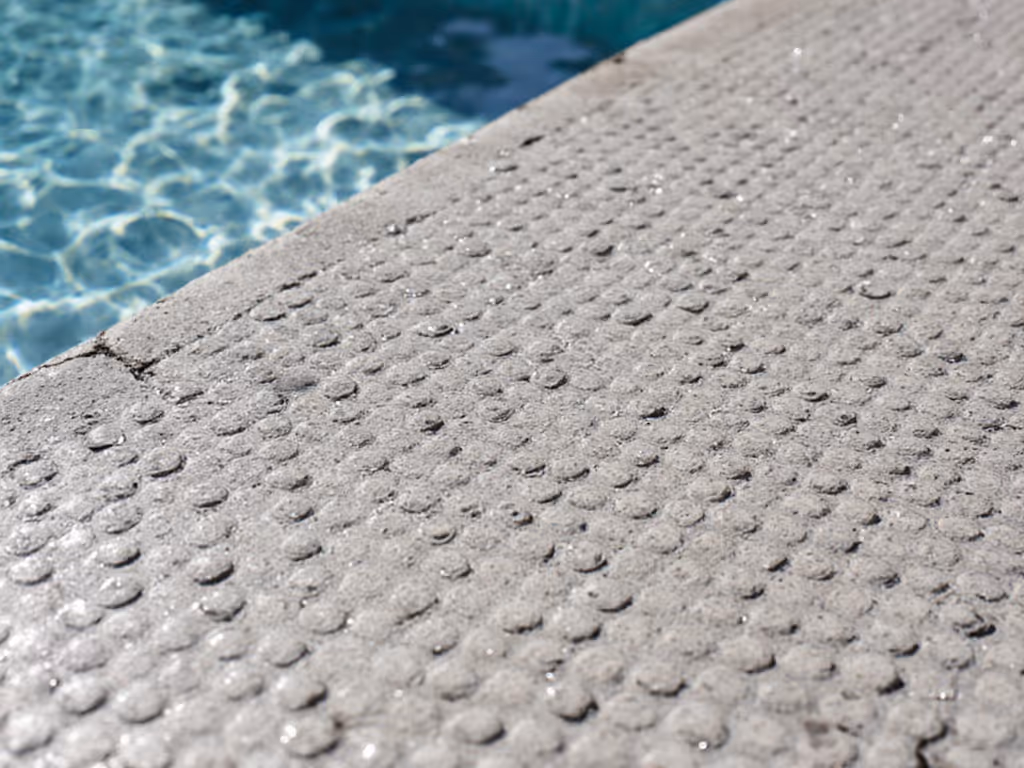
Only if needed, move to a 25° nozzle (green tip) at 12 to 18 inches. Focus only on stubborn areas, never the entire deck. Watch for the "sheen": when water beads up evenly across the surface, you've achieved proper cleaning without damaging texture.
Step 5: Final Verification
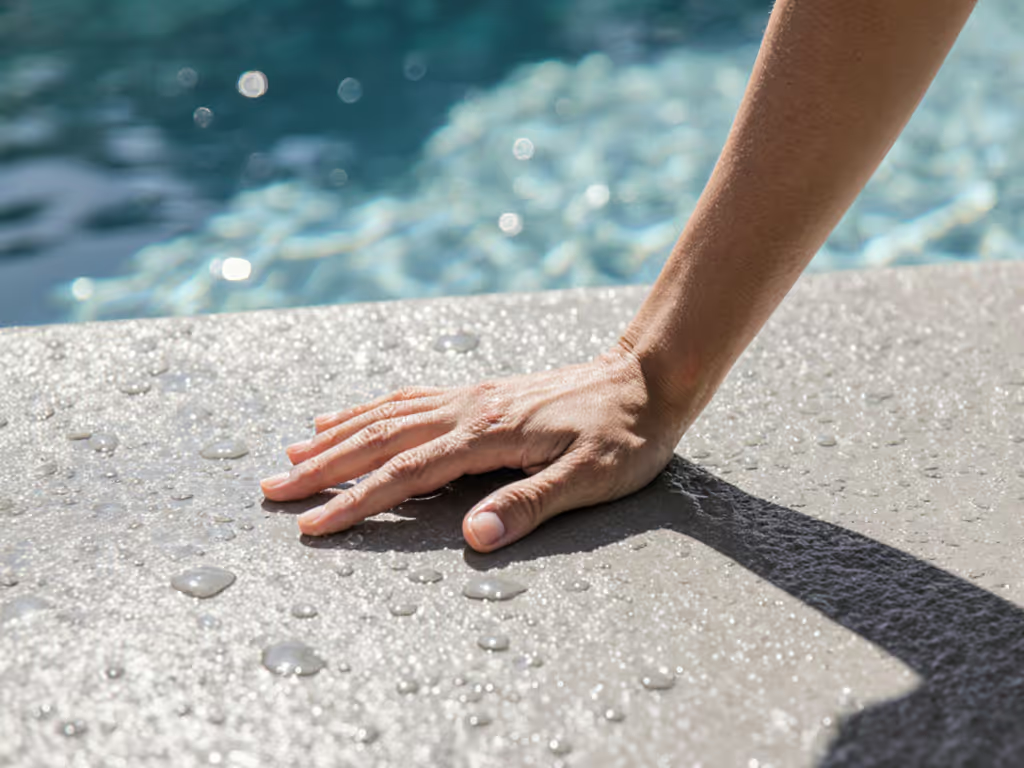
After your last rinse, crouch down and run your hand across the surface. It should feel uniformly textured, not smooth in spots and rough in others. If you find glossy areas, you've over-cleaned and removed crucial texture. A proper slip-resistant surface cleaning preserves the deck's natural grip while removing hazards.
Special Surface Considerations
For Paver Cleaning
Pavers hide a critical vulnerability: the sand between them. High pressure can blast out this joint sand, leading to shifting pavers and trip hazards. Treat paver cleaning with care. Always work parallel to the joints, never perpendicular. Your 40° nozzle should be held at 15 to 18 inches with slow, deliberate passes. If you hear sand popping out, you're too close or too powerful.
When Facing Heavy Algae
Don't reach for higher pressure when facing stubborn algae (reach for patience instead). Apply algae cleaner twice with a 10-minute dwell between applications. Let chemistry do the work your pressure washer shouldn't. I've seen more decks ruined by "algae panic" (cranking up the PSI) than by algae itself.
Critical Mistakes That Compromise Safety
- Staying in one spot too long. This creates divots that become water traps and slip hazards.
- Using the zero-degree tip (red) will etch surfaces and remove slip resistance.
- Cleaning in direct sunlight. Chemicals dry too quickly, reducing effectiveness and requiring more pressure.
- Skipping the test patch because "this time will be different."
Final Rinse: The Safety Verification Step
Your last pass should always be a plain water rinse at the widest fan angle. This isn't just about removing detergent, it is your final quality check. Walk the deck again slowly, watching how water behaves. Properly cleaned surfaces should sheet water evenly without beading or pooling. Any shiny spots indicate over-cleaned areas where slip resistance is compromised.
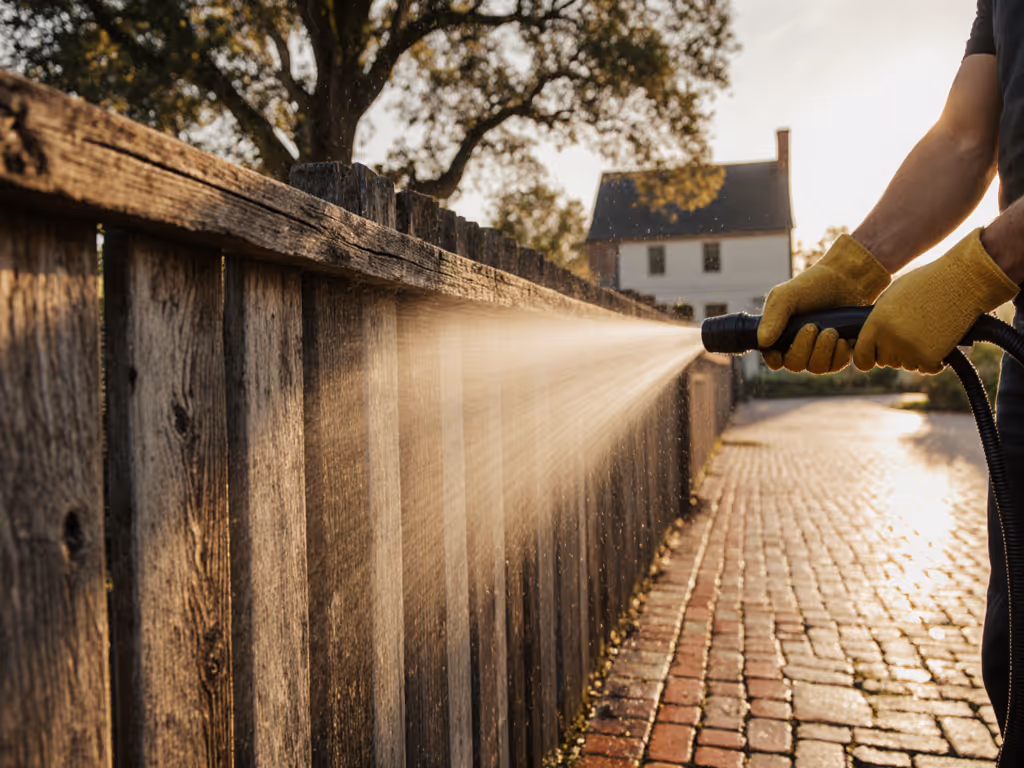
Your Action Plan
This weekend, find that quiet corner behind your pool equipment and practice your safety sequence. Run through your checklist, do a genuine test patch, and memorize your walk speed. Take photos of your test area before, during, and after; this visual record builds confidence for when you tackle the main deck. When you can demonstrate the process to a neighbor (like my fence-cleaning teen did for his mom), you'll know you've mastered the repeatable sequence that keeps surfaces safe and slip-resistant. Print this checklist, tape it to your pressure washer handle, and transform anxiety into pride (one safe, slip-resistant pass at a time).