Gentle Pressure Washing Techniques for Historic Wood
By Sofia Alvarez • 7th Jan
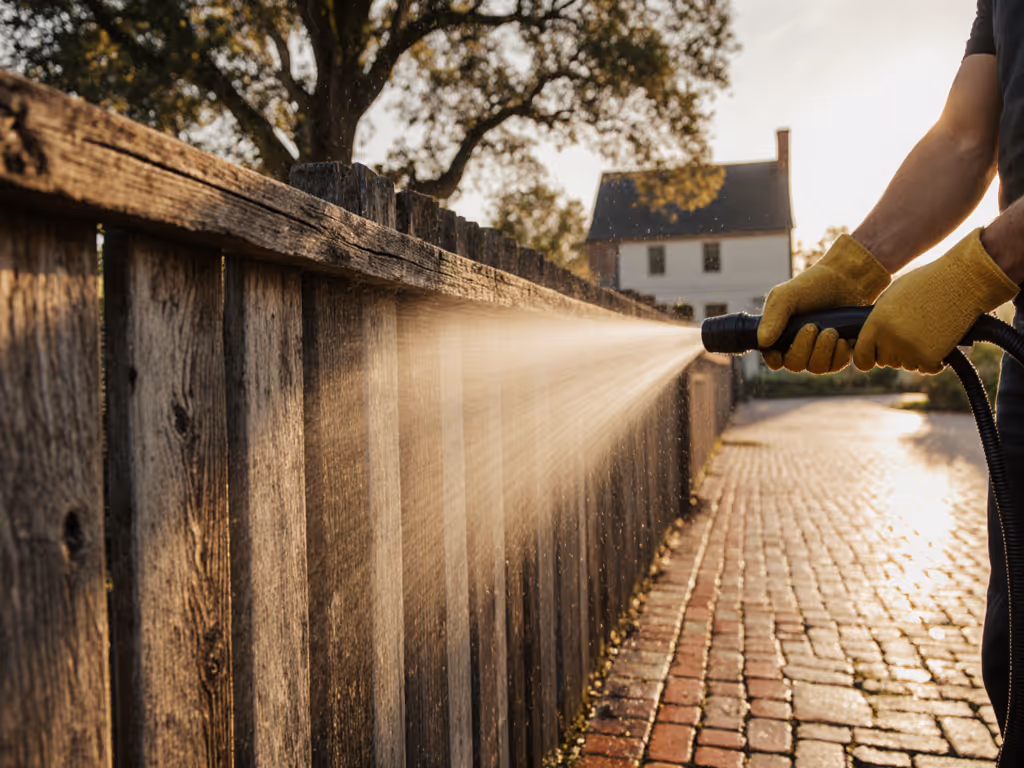
When it comes to house pressure washing historic properties, the right approach transforms a risky chore into a preservation opportunity. Proper wooden structure cleaning requires more than just water and pressure, it demands respect for the material's age and character. I've seen too many homeowners accidentally damage irreplaceable wood siding, trim, or decorative elements because they treated historic wood like modern concrete. The truth is, gentle cleaning isn't just about avoiding damage, it's about honoring the craftsmanship that made your home special in the first place. If you're debating technique, see our soft wash vs pressure wash guide for when to choose low-PSI methods on delicate historic wood. Whether you're restoring a Victorian farmhouse, a Craftsman bungalow, or historic barn wood, this guide provides a forgiving, stepwise approach that builds confidence with every pass.
Why Historic Wood Deserves Special Treatment
Historic wood differs significantly from modern materials. Decades or even centuries of exposure to the elements have created unique vulnerabilities that require careful attention. Traditional woodworking techniques used in historic homes often employed softer woods and natural finishes that simply can't withstand the pressure modern equipment can deliver. Unlike contemporary pressure-treated lumber, historic wood may have:
- Natural finishes (linseed oil, milk paint, or natural stains) that strip away easily
- Seasoned grain that swells or splinters under improper pressure
- Existing minor cracks that become pathways for water intrusion
- Hand-tool markings that give character but create fragile surfaces
According to preservation guidelines from the National Park Service, "water pressure exceeding 300 PSI can cause irreversible damage to historic wood surfaces." To understand how pressure and flow work together, review our PSI vs GPM guide before setting your machine. This is why our approach focuses on gentle wood cleaning techniques that work with the material rather than against it.
Your Historic Wood Cleaning Checklist
Before you even plug in your washer, establish a clear sequence that prevents damage and builds confidence. Remember my core belief: Clarity and sequence prevent damage and deliver confidence. Think of it as creating a roadmap that anyone could follow to achieve consistent results, because if it isn't repeatable, it isn't teachable or safe.
Step 1: Pre-Cleaning Assessment
Take time here; this 10-minute inspection saves hours of potential damage and repair later.
Create a visual map of your historic wood surface using this quick checklist:
- Identify vulnerable areas: Check for existing cracks, loose paint, or areas showing previous water damage
- Note wood type: Softwoods (like pine) need gentler treatment than hardwoods
- Locate delicate details: Ornamental trim, carvings, and joints require special attention
- Check for existing finishes: Determine if paint is original or previously restored
For a test patch, select a small, inconspicuous area that represents the surface you'll clean. This is your opportunity to verify settings before committing to the entire structure. I once taught a teen doing his first summer job to treat every surface like historic wood (taping his checklist to the handle with "patch test, 40 degree nozzle, two passes with overlap, and rinse-to-sheen" instructions). He finished without stripes and proudly explained the steps to his mom.
Step 2: Equipment Setup for Gentle Cleaning
Wider fan, safer first pass. This principle guides every historic wood cleaning I do. For aged wood preservation, you'll want to use these settings:
- Pressure: 100 to 200 PSI (maximum). Many electric units have variable PSI control.
- Nozzle: 40 degree tip, minimum (wider angles distribute pressure more gently)
- Distance: Maintain 18 to 24 inches from the surface
- Detergent: Use an eco-friendly, pH-neutral cleaner specifically formulated for historic wood
A gentle pre-rinse with clear water helps remove loose debris without forcing dirt deeper into the wood grain. This step is crucial for timber frame cleaning, where dirt has settled into intricate joinery. Set your washer to the lowest pressure setting before applying any cleaning solution.
Step 3: The Cleaning Sequence
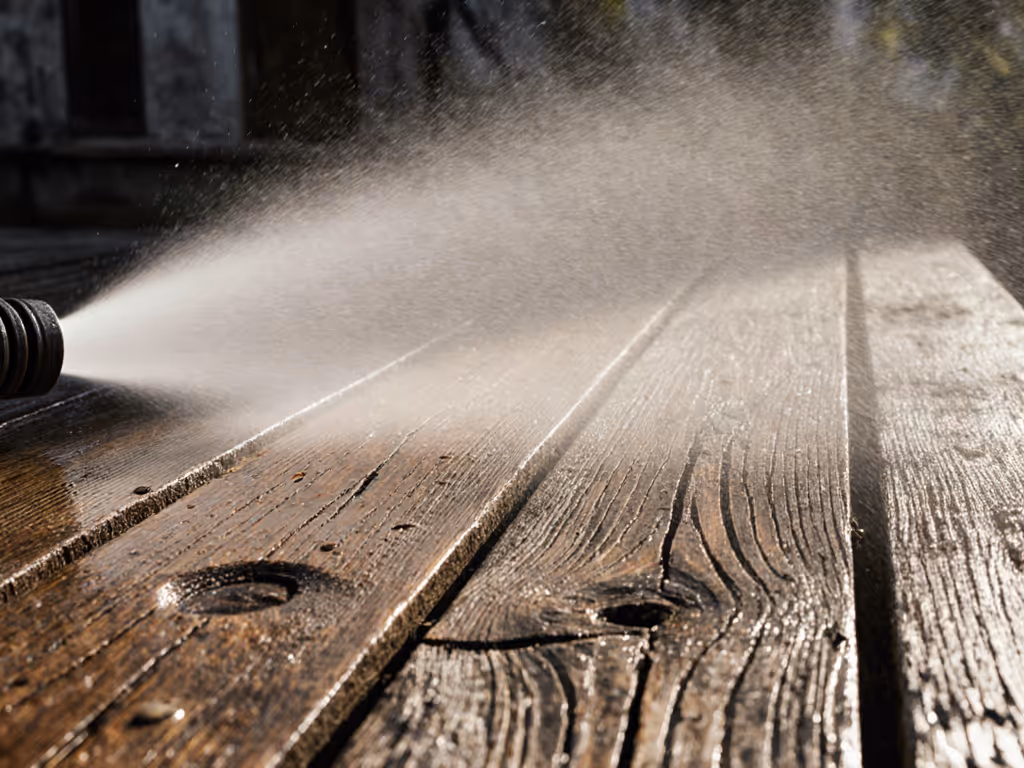
The magic happens in your technique, not the machine's power. Follow this sequence for consistent, damage-free results: For tip selection and spray angles on older siding and trim, use our historic home low-PSI nozzle guide.
- Start from the top: Work downward, following how rain naturally flows over your structure
- Maintain constant motion: Never hold the spray in one spot; your walk speed should be slow but steady
- Overlap each pass: By 50% to ensure even cleaning without missed stripes
- Follow the grain: Angle your spray at 45 degrees to the wood grain, not perpendicular
- Two-pass system: First pass with cleaning solution, second with clear water rinse
For historical restoration techniques, focus on areas showing mildew or discoloration. Apply your cleaning solution with a soft brush first to problem areas, then use the pressure washer on the lowest setting to rinse, never to scrub. Remember that gentle wood cleaning requires patience; better to make multiple gentle passes than one aggressive one.
Step 4: Post-Cleaning Care
What happens after you turn off the washer matters just as much as the cleaning itself:
- Allow thorough drying: Historic wood needs 48 to 72 hours to dry completely before any refinishing
- Inspect for issues: Check previously vulnerable areas for signs of water intrusion
- Document your process: Note what worked well for future reference
During humid months, consider using fans to encourage airflow behind the siding. Never seal or paint until the wood is completely dry. This traps moisture and accelerates decay.
Common Mistakes to Avoid
Even with the best intentions, historic wood cleaning can go wrong. Here's what to watch for:
- Using too narrow a nozzle angle (0 to 25 degrees) that concentrates pressure
- Holding the wand too close to the surface (under 12 inches)
- Standing still while spraying which creates etching or water intrusion
- Ignoring manufacturer PSI limits for your specific wood type
- Rushing the drying process before applying any protective finishes
Remember that gentle wood cleaning isn't about what you remove, it's about what you preserve. The goal isn't sterile perfection but respectful restoration that honors the material's history.
Take Your First Confident Step Today
Your historic wood structure has survived for decades or even centuries; don't let one aggressive cleaning session undo that legacy. Start small: select one modest area of your property that needs attention, prepare your equipment using the settings outlined here, and perform a thorough test patch. Document your settings and results so you can build on this experience next time.
Grab your notebook and pressure washer manual right now: spend 15 minutes reviewing your machine's PSI adjustment capabilities. Knowing exactly how to dial down to that critical 200 PSI range builds the confidence to tackle your historic wood cleaning project safely. Once you've verified your settings, mark a small test area on your property and follow the sequence we've outlined. That first successful patch test is the beginning of a preservation journey you'll be proud to share with future generations.
Related Articles